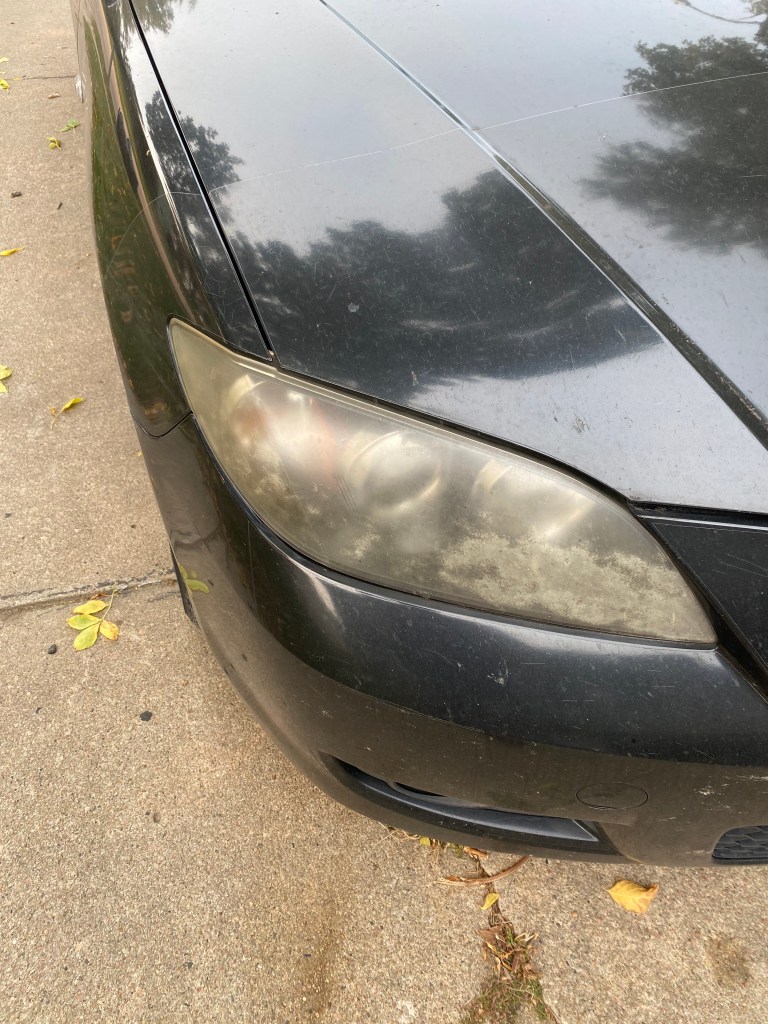
Before 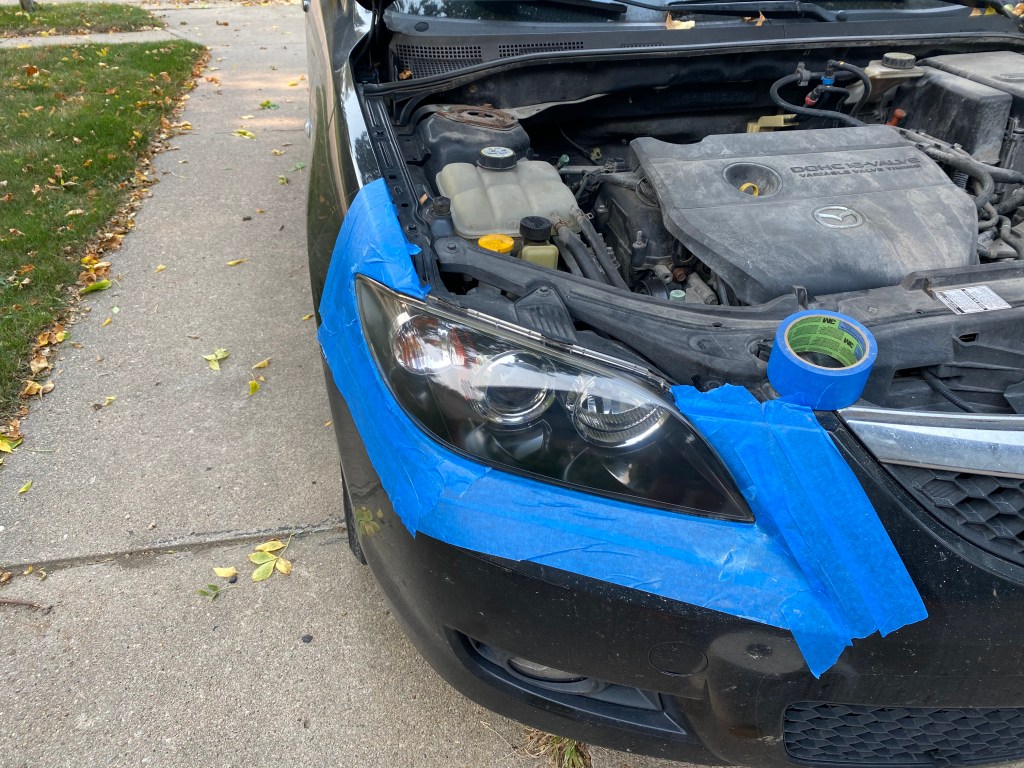
After
Featured Post
Headlight Restoration 101:
Headlights will begin to fade and yellow over time. This is common and happens on all cars from a $20,000 Honda Accord to a $150,000 Mercedes. As your headlights oxidize and become cloudy, the amount of light that is output decreases, driving at night becomes difficult and dangerous. This is due to oxidation on the lens as the plastic degrades with the sun’s UV rays.
I have been restoring headlights now (mine, customers, and friends and family) and have had great long lasting success with minimal effort and cost. With some simple tools 2 hours of time, you can save yourself from having to buy new headlights that can now reach upwards of $3000 each.
What you will need:
- Meguiar’s G2970 Two Step Headlight Restoration Kit or similar: https://amzn.to/3sFUlRj
- Heavy duty towels https://amzn.to/382Y3g7
- Or microfiber cloths that are washable https://amzn.to/3e0kPZI
- Masking tape. I use: https://amzn.to/2MKACko
- –Optional a drill (I prefer cordless) https://amzn.to/3e2f8dV
- –Optional drill adapter with interface pad for sanding pads https://amzn.to/3uPI9iM
STEP 1
The first step is to clean and assess the extent of the repairs needed.
I first wash the whole car with extra detail to clean and dry the area around the headlights.
Use the micro fiber cloths to dry all the cracks surrounding the headlights. This needs to be dry for the tape to stick
Start by making off the area surrounding the headlights.
I like to do one or two layers of tape directly next to the headlights so that if my sander gets away from me, I will not damage the paint or grills.
Apply more tape to expand the area covered surrounding the headlight. You can also use newspaper to protect even farther (I do this and recommend it, the aerosol clearcoat has a wide spray pattern)
Although it may seem excessive, but this step is critical.
STEP 2
Start by making off the area surrounding the headlights.
I like to do one or two layers of tape directly next to the headlights so that if my sander gets away from me, I will not damage the paint or grills.
Apply more tape to expand the area covered surrounding the headlight. You can also use newspaper to protect even farther (I do this and recommend it, the aerosol clearcoat has a wide spray pattern)
Although it may seem excessive, but this step is critical.
STEP 3
Now we start the sanding process.
There are 2 ways to approach this.
-Sand by hand
-Use a drill with an adapter and interface pad
By hand will be precise and you will have everything you need in the kit I linked to. But it will be more time consuming and has the potential for less mistakes.
If you go with the drill method, you will need to be careful not to sand too far, or accidentally sand off the headlight. if doing this, Be sure to go slow and in a controlled motion.
3.Start with the coarse grit sandpaper. Be sure to use a liberal amount of the “cleaning solution”(also known as rubbing compound)
Be sure to use a circular motion. This will be a time consuming step, take your time.
You will see the headlight go from yellow to clear, but will appear hazy.
4.Once you see get the full headlight to the same hazy but clear in color, its time to move on to the next grit of sanding pads.
Complete the same process but you will go from hazy to near clear. But that will go away with the next steps.
STEP 4
Spray the included Clearcoat.
Use a very light first coat.
Allow 3-5 minutes of dry time in-between coats.
Spray across the headlight in a horizontal direction.
Try and have each pass overlap by 50%.
Try your best not to spray too heavily and create runs in the coating.
Tips and Tricks
-Although this Write-up was using the Meguiar’s G2970 Two Step Headlight Restoration Kit the same applies for all of the other branded kits available. I personally like this kit because I can usually do 2-3 cars worth out of one kit.
-One thing to look for in kits or if you were to create your own process is the clearcoat. Although you can stop after the sanding/cleaning step, this clarity will not last. Without the clearcoat application, I have seen headlights start to oxidize within weeks. Although this process is not hard to do, I have been getting 1-2 years of clarity when using a clearcoat.
-Keep the headlights dry as possible after completing the clearcoat. I like to keep them dry for a few days if possible.
-Try do spray the clearcoat out of the sun, as it will accelerate the drying time
-Try to apply clearcoat on a non-windy day.
-If you do get some overspray, you can use rubbing alcohol to remove. Apply rubbing alcohol on a shop towel, never directly on the car’s paint
About Me
Hi, I’m Brad, Previously a technician, estimator and teacher of the automotive Collision repair industry, I saw a need for real world answers explained without the industry jargon to help people navigate the complicated world of getting your car repaired.
